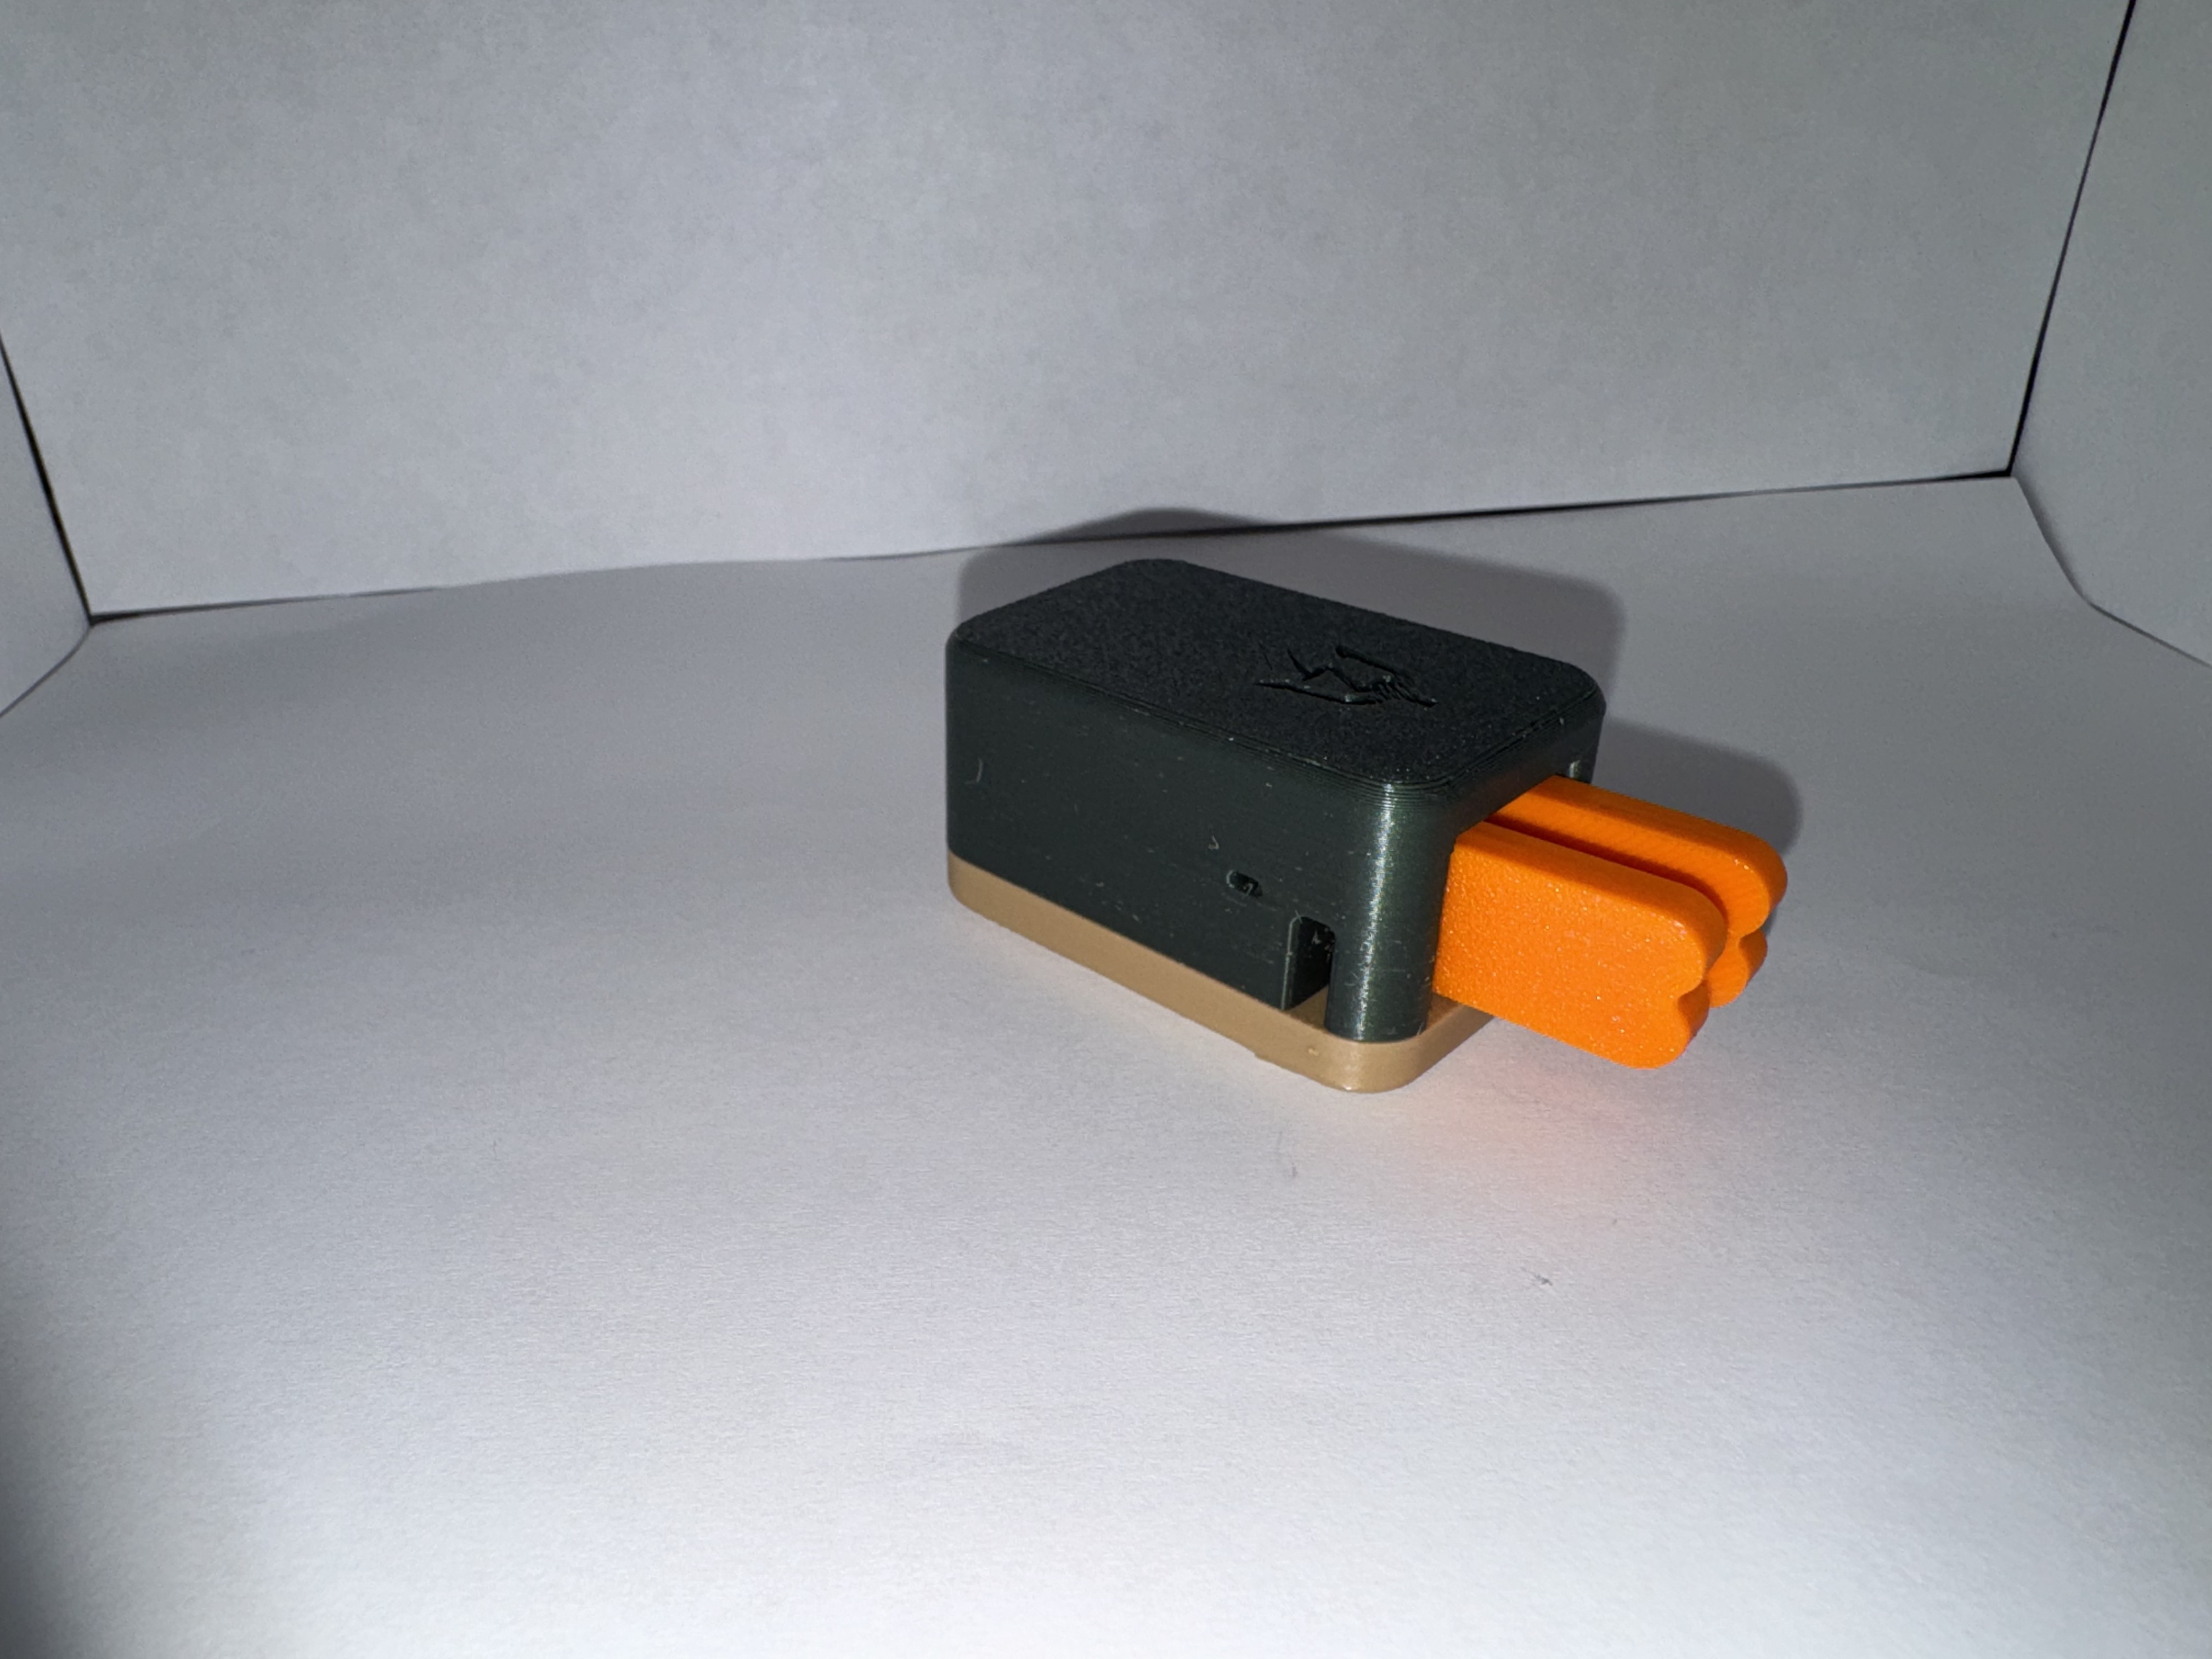
Zippy Paddle
Description
A compact, portable CW (Morse code) paddle designed for field operation. This design prioritizes portability without sacrificing comfort or functionality.
Specifications
- Print time: ~1.5 hours
- Filament: ~40-50 grams
- Material: PETG
- Compatible with: Standard 3.5mm cables
Features
- Lightweight and packable
- Magnetic return
- Dual ball bearing paddle support for precision
- Strong magnetic base
Files & Downloads
- STL file (https://www.thingiverse.com/thing:7255380)
Assembly Notes
When assembling the components, I recommend beginning with installing the threaded inserts on the top of the key. I like to install the 2 back inserts about 90% of the way with a soldering iron, and then turn the top around and press it flat against a flat surface. This ensures the inserts are installed and aligned as flat as possible to make assembly easier. With the center insert in the front (used to anchor the standoff to the top) I get it 90% installed with the soldering iron, then finish pressing in the insert with the something flat like the top of a x-acto blade holder (whatever you can fit that is flat to help get the insert square). Install the M2x16mm standoff to the top and ensure it is straight. Some finesse may be required to get it aligned.
Moving onto the base, install the 3.5mm jack to the base, center tab towards the bottom and aligned with the wire canal that is in the base. Install a M2 screw where the wire terminal will be placed and secure it with another standoff to aid in soldering. Cut a wire to length between the center terminal of the 3.5mm jack and the wire terminal. This will be the ground of the key. Remove the standoff once the terminal has been soldered in place.
At this point, you can install all 4 bearing into their respective slots in the top and base of the key. At this time, also install the magnets into the paddles. The tolerance is tight, so no super glue is needed to keep it in place. You can use some if you feel the need to do so.
When installing the wire into the paddles, there is a hole in both the top and bottom of the paddle. This allows one design for both sides. Ensure that you are feeding the wire through the top of the right and left paddles. I like to fit an M2 button head screw here to start the threads, usually fully seating the screw and removing it, replacing it with the grub screw. Give the wire a slight tug once installing the grub screw to ensure the wire is properly secured to the paddle. These are small, and they do like to strip. Extra care and patience is critical here so you don’t strip the screw. Once you have both paddles assembled, one at a time, seat the paddle to the base bearing and solder the wire to the jack. Cut off any excess wire and proceed to the next paddle. Don’t make these connections too tight or it will affect the tension force of each paddle. I like to put 2-3 loops on the wire right behind the paddle to allow more give in the wire in case my connection is too tight. I make these loops using the M1.5 tool bit.
Once both paddles are soldered to the base, the hard part is done! Now it is time to assemble the two halfs of the paddle together. Some finesse may be required to align the paddles to the top bearings. Don’t force this. The top should gradually sink into the base and sit flush. Make sure the wire is not getting pinched between the two halves of the paddle.
Install the 3-M2 screws to secure both halves together. These should be finger tight, don’t crank down on them or it will affect the tension on the paddles. The standoff needs to make contact with the wire terminal, so ensure this screw is nice and snug.
Install the grub screw on each side of the top cover and adjust the stop point of your paddles. Adjusting the grub screws in the paddles as necessary to get the desired spacing and stop points in the paddles. Finally, install the 3 magnets on the base. Ensure these are all the same polarity. And your Zippy paddle is ready to go!
Notes
This portable key offers quality in a relatively low cost form factor. Prioritizing durability and portability without sacrificing performance and reliability.